If You're Going to Run OpenClaw, Do It Like This! (or Don't Do It at All!)
Introduction
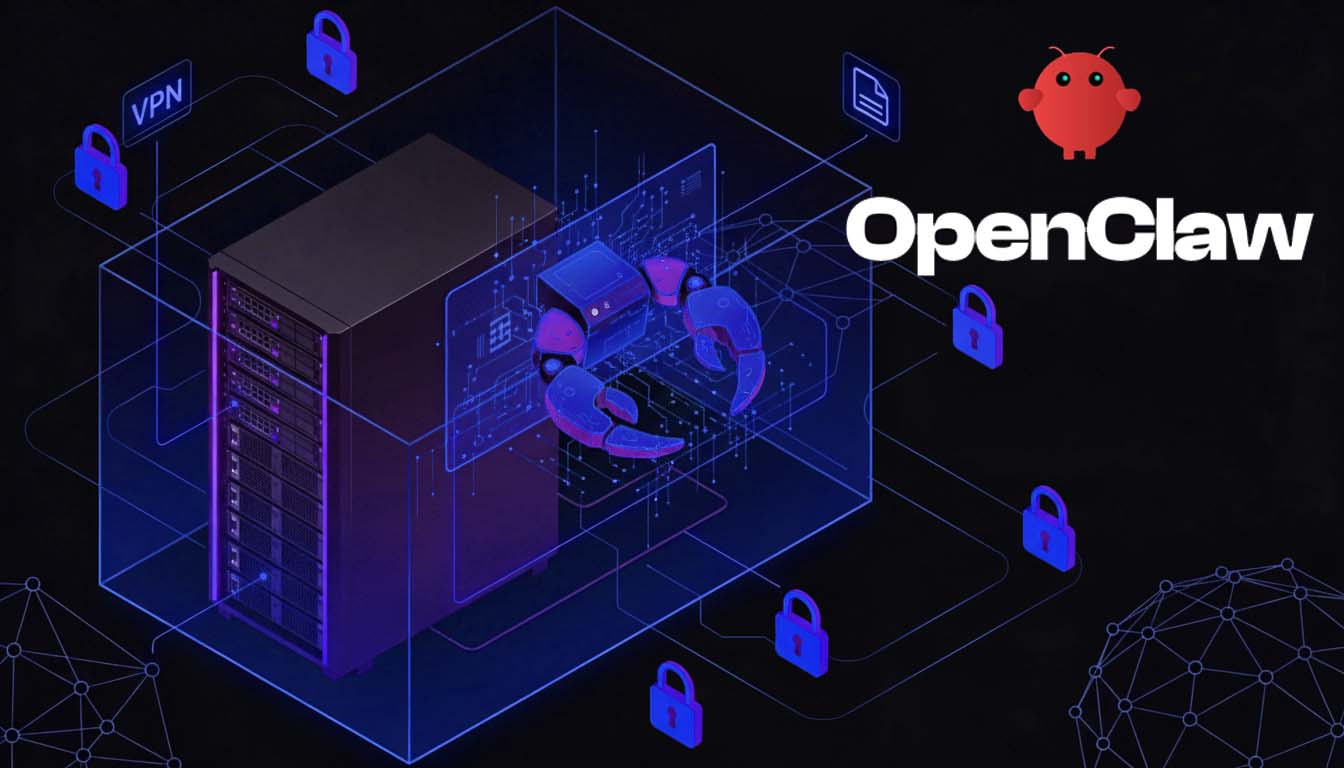
If you want to try OpenClaw without accidentally giving an AI agent full control over your digital life, you need to treat it like a high‑risk lab experiment, not a productivity app.
This post walks through a practical, security‑first setup: Docker on a clean VPS, locked to ‘localhost’, reachable only over a VPN (like Tailscale), with clear “kill switch” options baked in.
Why OpenClaw deserves extra paranoia
OpenClaw isn’t just a chatbot. It’s an agent framework that can:
- Read and write files
- Run tools and commands
- Talk to external APIs and services
- Expose itself via gateways (web UI, chat, etc.)
If you misconfigure it, an auth bypass, prompt‑injection, or malicious skill can turn into:
- Data exfiltration (personal files, SSH keys, configs)
- Remote code execution on the host
- Cloud bill abuse via unbounded API usage
So the mindset here is simple: contain OpenClaw, strictly control what it can see and do, and make it easy to tear down and rebuild if something goes sideways.
Picking how and where to run it
Here are three realistic hosting patterns, in plain English.
| Pattern | Where it runs | Security posture | When it makes sense |
|---|---|---|---|
| Local Docker on your dev machine | Your laptop/desktop with Docker Desktop | OK if you keep mounts tight; risky if you expose your whole home directory | Quick local experiments, no 24/7 uptime needed |
| VPS + Docker + Tailscale (recommended) | Clean Ubuntu VPS, OpenClaw bound to localhost, access via VPN | Best balance of control and safety: isolated host, private access, clear blast radius | Serious testing, demos, reproducible lab environment |
| Managed OpenClaw hosting | Third‑party runs and patches OpenClaw for you | Safest for non‑infra folks; opinionated defaults, TLS, firewall, updates | If you don’t want to touch SSH, firewalls, or Docker at all |
The rest of this post assumes the VPS + Docker + Tailscale setup, but you can apply most of the same ideas to a local machine.
Step 1 – Start with a clean “lab” box
You want OpenClaw on a machine that doesn’t hold anything important: no production services, no personal documents, no random side projects.
What to use
Good VPS choices that work well with Docker:
- Hostinger VPS – has OpenClaw‑related security and setup guides, which makes it friendly for readers following along.
- Hetzner, Linode, DigitalOcean – solid, inexpensive VPS providers with good Docker support.
Suggested baseline:
- Ubuntu LTS (e.g., 22.04 or later)
- 2 vCPU
- 4 GB RAM
- 80–160 GB disk
Basic hardening
Once the VPS is up:
- Use key‑based SSH auth, not password logins.
- Disable root SSH login if your provider doesn’t do that by default.
- Treat this box as your “OpenClaw lab” only. No extra apps, no shared workloads.
Step 2 – Install Docker and run OpenClaw
OpenClaw has a Docker‑based setup that’s the safest way to run it today.
Install Docker
On Ubuntu:
sudo apt-get update
sudo apt-get install -y docker.io docker-compose-plugin
sudo systemctl enable docker
sudo systemctl start docker

docker --version
docker compose version
For more info please visit: How to Install Docker Engine on Ubuntu
Optional: create a dedicated user
This keeps OpenClaw’s stuff separate:
sudo adduser openclaw
sudo usermod -aG docker openclaw
su - openclaw
Now you’re working as the openclaw user instead of root.
Clone and set up OpenClaw
git clone https://github.com/openclaw/openclaw
cd openclaw
./docker-setup.sh   # or the current setup script from the README
That script (or equivalent) will:
- Create
~/.openclawfor config, memory, and secrets - Create
~/openclaw/workspaceas the default working directory - Start the gateway and CLI via
docker-compose.yml
Volume safety rules
These are non‑negotiable if you care about security:
- Only mount:
~/.openclaw~/openclaw/workspace
- Do not mount:
- Your entire home directory
/or other system paths~/.sshor any folder containing secrets
- Do not mount the Docker socket (
/var/run/docker.sock) into OpenClaw under any circumstances.
For extra context, you can point readers to:
- OpenClaw repo: https://github.com/openclaw/openclaw
- Simon Willison’s “Running OpenClaw in Docker” note: https://til.simonwillison.net/llms/openclaw-docker
- A step‑by‑step “OpenClaw in Docker” walkthrough.
Step 3 – Keep it off the public internet
Here’s the rule: OpenClaw should never be directly reachable from the internet.
Bind it to localhost
In docker-compose.yml, make sure the port mapping looks like this:
services:
  openclaw:
    # ...
    ports:
      - "127.0.0.1:3000:3000"
That 127.0.0.1 is the important part: it forces the gateway to listen only on localhost.
Add a firewall
On Ubuntu, UFW is simple and good enough:
sudo ufw default deny incoming
sudo ufw default allow outgoing
sudo ufw allow ssh
sudo ufw enable
sudo ufw status
Nothing else (including OpenClaw’s port) needs to be open to the world.
Use Tailscale to reach it privately
To access the OpenClaw UI and APIs without exposing them:
- Install Tailscale on the VPS:
curl -fsSL https://tailscale.com/install.sh | sh
sudo tailscale up
Follow the URL it prints to approve the device in your Tailscale account. 2. Install Tailscale on your laptop/phone and log into the same tailnet. 3. Get the VPS’s Tailscale IP and connect:
tailscale ip -4Then, from your laptop browser:
http://<tailscale-ip>:3000Now OpenClaw is reachable only over your private mesh network, not from the raw internet.
For a purely local setup on your dev machine:
- Still bind to
127.0.0.1in Docker. - If you want mobile access, use Tailscale or SSH port‑forwards, not router port‑forwards.
Step 4 – Configure OpenClaw like it might misbehave
Once OpenClaw is up, it writes its configuration and state to ~/.openclaw. This is where you decide how much power the agent gets.
Use dedicated API keys with guardrails
- Create separate API keys (OpenAI, Anthropic, etc.) just for this OpenClaw instance.
- Set strict usage limits and budget alerts in the provider dashboards.
- Don’t reuse production keys or keys with broad org‑wide permissions.
Keep the filesystem scope tiny
- Assume OpenClaw can read/write anything under
~/openclaw/workspace. Treat it like a sandbox. - Don’t put secrets, SSH keys, customer data, or sensitive documents in that directory.
- If you need access to certain repos, copy sanitized versions into
workspaceinstead of mounting your entire dev tree.
Disable or strictly control dangerous tools
The riskiest parts of agent frameworks are the tools that turn “text” into real‑world actions.
In OpenClaw, that includes:
- Shell/terminal execution
- SSH integrations
- Docker control
- Any “raw filesystem” or system‑level tools
Recommended approach:
- Start with these tools disabled.
- When you enable them, wrap them in an approval step: the agent proposes a command, and you explicitly approve it before execution (OpenClaw supports “exec approvals” patterns like this).
- Log every executed command and review logs regularly.
Be selective with skills and MCP servers
Skills and MCP servers are essentially plug‑in code and integrations. Treat them like browser extensions:
- Prefer skills where you can read the code and see active maintenance.
- Avoid random “cool” skills from GitHub with no stars, no tests, and no update history.
- Periodically audit installed skills and remove anything you’re not actually using.
Lock down gateways and access
If you connect OpenClaw to Telegram, Discord, or similar:
- Use per‑user sessions where possible, not one giant global agent everyone shares.
- Protect bot tokens and secrets properly (environment variables, secrets manager, etc.).
- Don’t let untrusted users send arbitrary commands to your “root‑level” agent.
For deeper reading, you can link to:
- OpenClaw configuration and security docs in the main repo.
- A dedicated OpenClaw hardening guide and checklist.
Step 5 – A safe way to test it on day one
Here’s a simple, low‑risk way to verify everything works.
5.1 – Check that containers are up
From the openclaw repo directory:
docker compose psYou should see the gateway and CLI containers running.
Optional: tail logs while testing:
docker compose logs -fYou can also do a quick health check using the CLI:
docker compose run --rm openclaw-cli statusThis should confirm that the agent and gateway are reachable.
5.2 – Use a toy workspace first
Populate ~/openclaw/workspace with:
- A few markdown notes
- A small sample repo
- Some synthetic data or docs
No secrets, no real customer data, nothing you’d regret losing.
Then ask OpenClaw to:
- Summarize files
- Generate tests for the sample repo
- Propose refactors or new functions
At this stage, don’t allow it to run shell commands yet; just let it read and write within the workspace.
5.3 – Turn on tools slowly and watch closely
When you’re ready to let it execute commands:
- Enable shell tools with an approval flow: the agent suggests a command, you approve or reject.
- Watch for signs of weird behavior, like:
- Repeated attempts to list directories outside
workspace - Network calls to suspicious domains
- Long chains of tool calls that look like probing rather than useful work
- Repeated attempts to list directories outside
If you’re using a reverse proxy or external logging, send logs somewhere you’ll actually look at them.
5.4 – Keep updates boring and regular
To update OpenClaw:
cd ~/openclaw
docker compose pull
docker compose down
docker compose up -d
Make this part of a routine:
- Update Docker and system packages periodically.
- Pull new OpenClaw images after important releases or security advisories.
- Re‑review skills and configs every so often to make sure nothing risky snuck in.
5.5 – Have a clear “panic button”
If something feels off, don’t overthink it—just shut it down:
cd ~/openclaw
docker compose down
If you want to fully reset:
mv ~/.openclaw ~/.openclaw-quarantine-$(date +%s)
mv ~/openclaw/workspace ~/openclaw-workspace-quarantine-$(date +%s)
Because the setup is containerized with very limited mounts, wiping and rebuilding is cheap.
When managed hosting is actually the safer choice
All of this assumes you’re comfortable with SSH, Docker, UFW, and VPNs. A lot of people aren’t, and that’s fine.
There are now managed OpenClaw hosting providers that:
- Run OpenClaw in hardened Docker
- Put it behind a reverse proxy with TLS and authentication
- Handle OS and OpenClaw updates
- Provide logging, backups, and security‑focused defaults
If that sounds more appealing than hand‑rolling your own secure VPS setup, it probably is. For many teams, a reputable managed host will be safer than a DIY OpenClaw instance bound to 0.0.0.0 on a $5 VPS.
If you do know your way around infra, though, the VPS + Docker + Tailscale pattern gives you full visibility and control while keeping the blast radius small.
Closing thoughts
OpenClaw is a great example of how fast agentic AI has jumped from “fun demo” to “this can absolutely hurt you if you’re not careful.” The good news is you don’t need exotic tech to run it safely—just:
- A clean “lab” machine
- Docker
- A mesh VPN like Tailscale
- Tight volume mounts and tools
- A healthy level of skepticism
If you follow the guidelines in this post, you can explore what OpenClaw can do without turning your dev environment into its playground.
Resources, Reference and Further Reading and Watching
- Introducing OpenClaw (official blog)
- How to Properly Use Claude Code Agent Teams
- TIL: Running OpenClaw in Docker – Simon Willison
- How to Set Up OpenClaw on DigitalOcean (Gist)
- You Could’ve Invented OpenClaw (Architecture Breakdown)
- OpenClaw Security Hardening Guide 2026: 7 Layers of Protection
- How to Harden OpenClaw Security: 3‑Tier Implementation Guide
- Using OpenClaw AI Safely: Full Privacy & Security Guide
- Install Tailscale on Linux
- Tailscale Setup on a VPS (example guide)
- OpenClaw Full Setup Video Walkthrough (YouTube)
- IronClaw: OpenClaw‑Inspired Rust Implementation Focused on Security